
How to Annotate, Blur Sensitive Areas, and Markup Screenshots Online
Sharing a screenshot of a software bug, bank transfer receipt, or chat conversation often requires two things: highlighting an important section with an arrow, and blurring out sensitive personal details like account numbers or email addresses. EditPDFKit's Edit Image Studio gives you a full suite of markup pens, shapes, text callouts, and privacy blur tools directly in your browser with zero installations.
Filing a software bug report or asking for help in a support forum almost always comes with a screenshot attached — and almost as often, that screenshot shows more than it should: an account balance in a banking app screenshot, a full name and email in a chat log, a real customer ID in an admin dashboard capture. Cropping the sensitive part out entirely isn't always an option when it sits right next to the thing you actually need to show. What's needed instead is the ability to selectively destroy just the sensitive region while leaving everything else fully visible and readable, plus a way to visually point at the specific thing you're describing so the person reading doesn't have to guess which button or field you mean.
Open Photo Filters & Basic Edits now
Step by step
4 steps- 1
Load the Screenshot Into the Editor
Drop your screenshot or photo into the Edit Image canvas to start marking it up.
Open Photo Filters & Basic Edits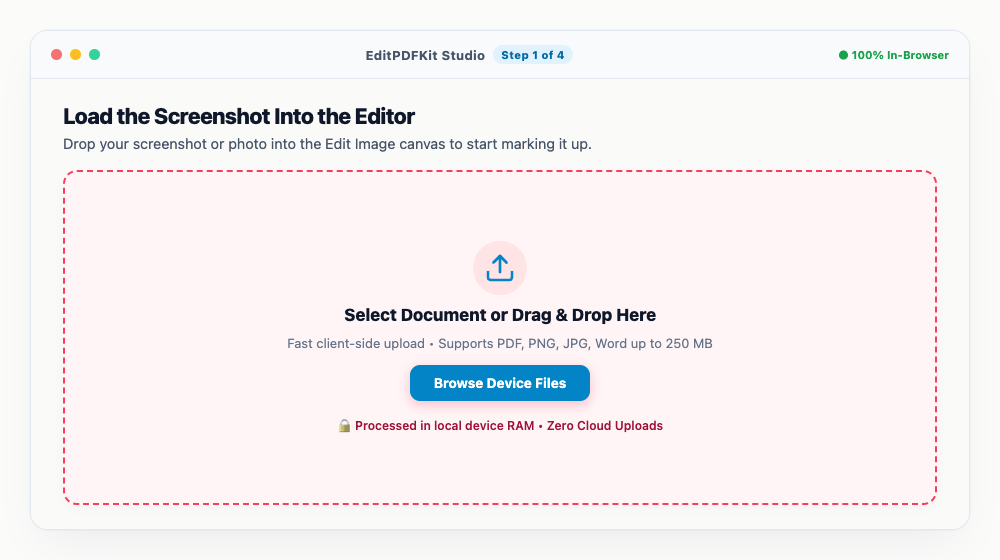
Skip the drag-and-drop entirely and just paste straight from your clipboard with Ctrl+V (Cmd+V on Mac).
- 2
Blur Out Anything Private
Grab the 'Blur' or 'Pixelate' tool and drag a box over names, account numbers, balances, or anything else that shouldn't be visible.
The blur genuinely scrambles the pixels underneath — it's not a see-through overlay that could be removed later.
- 3
Point Things Out With Arrows and Notes
Use the Arrow or Rectangle tool to call attention to specific buttons or data points, and drop in text callouts in whatever color and size reads clearly.
High-contrast colors — bright red, green, yellow — stand out far better than muted tones when someone's scanning quickly.
- 4
Save the Marked-Up Version
Click 'Save & Download' to export the annotated screenshot as a high-resolution PNG or JPG.
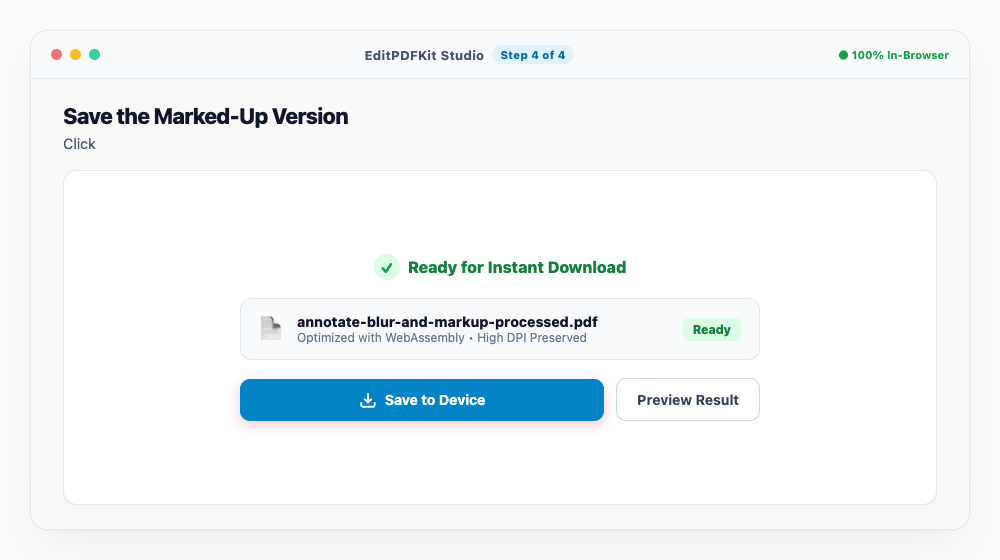
It's ready to send straight to a support team, client, or colleague without any extra cleanup.
Why use EditPDFKit for this
- Privacy Blur & Pixelate: easily blur out passwords, bank account numbers, faces, and phone numbers
- Callout Arrows & Shapes: draw arrows, circles, and rectangular highlight boxes to guide viewers' attention
- Add Crisp Text Notes: type explanations, captions, and numbered steps directly on your image
- 100% In-Browser Privacy: sensitive bank receipts and private screenshots are never uploaded to a cloud server
What Is Screenshot Annotation and Privacy Blurring?
Screenshot annotation means adding callout arrows, shapes, and text notes to guide a viewer's attention to something specific, while privacy blurring means mathematically destroying the pixel data in a selected region so sensitive information genuinely can't be recovered afterward — not just visually covered. Sharing a bug report, payment receipt, or chat screenshot almost always requires both at once: pointing at the specific thing you're describing while making sure an account number or email address sitting nearby isn't exposed. EditPDFKit's Edit Image Studio combines both in one editor.
Who Typically Uses This
Software testers submitting bug reports need to circle or arrow-point at a broken UI element while blurring out any account IDs or personal data visible in the same screenshot. Customers sharing payment receipts face the same need from the other direction — proving a transaction happened without exposing a full card or account number, while educators creating tutorial diagrams and social media creators both rely on the annotation side to guide a viewer's eye to specific content.
Across all of these, the common thread is sharing a screenshot that shows more than it should, right next to the thing that actually needs to be shown.
The Features Behind This Workflow
Privacy Blur & Pixelate genuinely destroys the underlying pixel data for passwords, account numbers, faces, and phone numbers — not a reversible overlay, a true mathematical transformation that can't be undone by anyone who downloads the file. Callout Arrows & Shapes let you draw arrows, circles, and highlight boxes to direct attention exactly where it needs to go.
Add Crisp Text Notes puts typed explanations, captions, or numbered steps directly on the image, and clipboard paste support means you can go straight from a screenshot capture to the editor with Ctrl+V/Cmd+V, skipping the usual save-and-browse steps entirely.
Why This Workflow Just Works
The process is four steps: load or paste the screenshot, blur out anything private, point things out with arrows and notes, then save. No account or software install is required, and because the entire editor runs client-side, a private bank receipt or an internal dashboard capture never has to touch a remote server just to get a blur box and an arrow added to it.
Frequently asked questions
Can someone un-blur or recover the text I blurred out with EditPDFKit?
No. EditPDFKit's blur filter calculates a true mathematical Gaussian blur/pixelation matrix over the pixel data. Once exported, the original underlying pixels are permanently destroyed and cannot be reversed.
Can I paste a screenshot directly from my clipboard without saving it first?
Yes! Take a screenshot on your computer (Windows Snipping Tool or Mac Cmd+Shift+4) and simply press Ctrl+V / Cmd+V on the editor page to paste it instantly.
Do I need to download or install any photo editing software?
No. The entire photo markup editor runs 100% inside your web browser without plugins, extensions, or software installations.
Do I need to install any software to annotate, blur sensitive areas, and markup screenshots online?
No download is needed. The whole process — annotate, blur sensitive areas, and markup screenshots online — runs directly inside your web browser using our edit image tool, powered by WebAssembly. No browser extension or account is needed — just open the tool and go.
Is this approach suitable for software testers submitting bug reports?
Yes — this is a common use case for software testers submitting bug reports, customers sharing payment receipts, educators creating tutorial diagrams, and social media creators. The file never leaves your device, and this works the same on desktop, Android, and iOS.
What's the difference between 'Blur' and 'Pixelate' for hiding sensitive data?
Both permanently destroy the underlying pixel data, just with a different visual look — Blur applies a smooth Gaussian softening, while Pixelate breaks the region into large visible blocks. Use whichever reads more clearly as 'intentionally redacted' in your screenshot.
Annotating and redacting a screenshot are really the same underlying need — communicating something clearly to another person without exposing information that shouldn't leave your screen — and having both in one tool means not having to switch between a separate markup app and a separate redaction tool for what's usually a single quick task. Because the entire editor runs client-side, a private bank receipt or an internal dashboard capture never has to touch a remote server just to get a blur box and an arrow added to it.
Pairs well with
Barcode Generator
Generate a Code 128, EAN-13, UPC-A or Code 39 barcode as a PNG, with the number printed beneath.
Photo Collage Maker
Drop photos into a grid, filmstrip, spotlight, mosaic or tilted polaroid layout and export one picture.
Compress Image to 200KB
Bring a JPG or PNG under 200 KB without the face going blotchy — sized for exam-form photos and portal uploads.
Related posts
Image Cropping
How to Crop Photos into Perfect Circles and Profile Avatars
Watermarking
How to Add Custom Text and Logo Watermarks to Protect Your Work
Privacy & EXIF
How to Remove GPS Location, Camera EXIF and Hidden Metadata from Photos Online
Image Stitching & Layout
How to Combine Multiple Photos Side-by-Side or Vertically into One Image
Image Compression
How to Compress Images to 200KB (or Any Target Size) Without Quality Loss